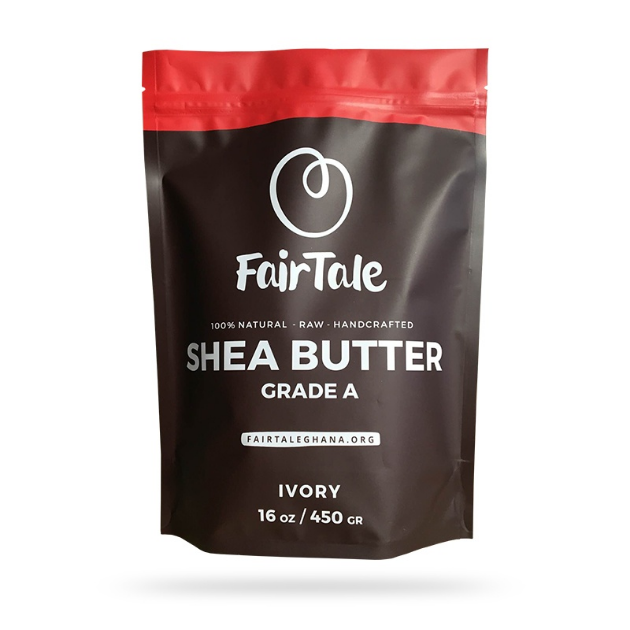
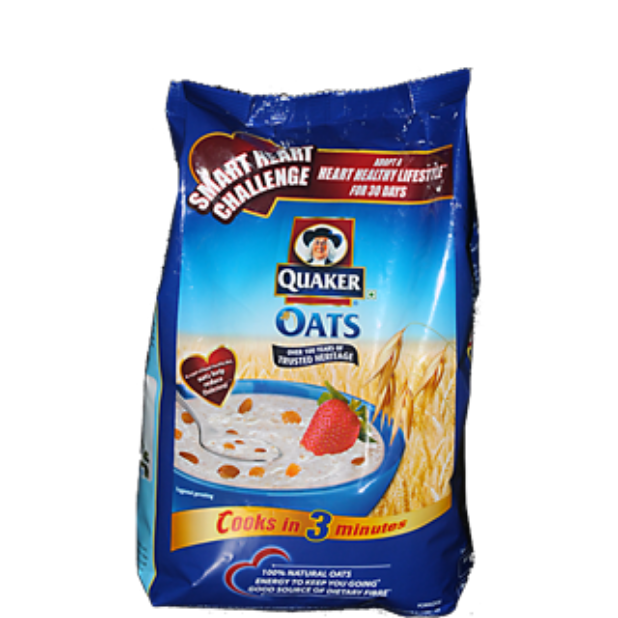
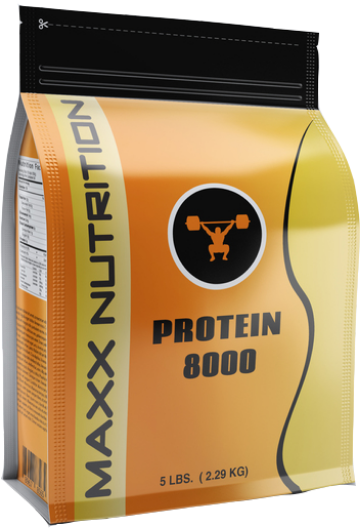
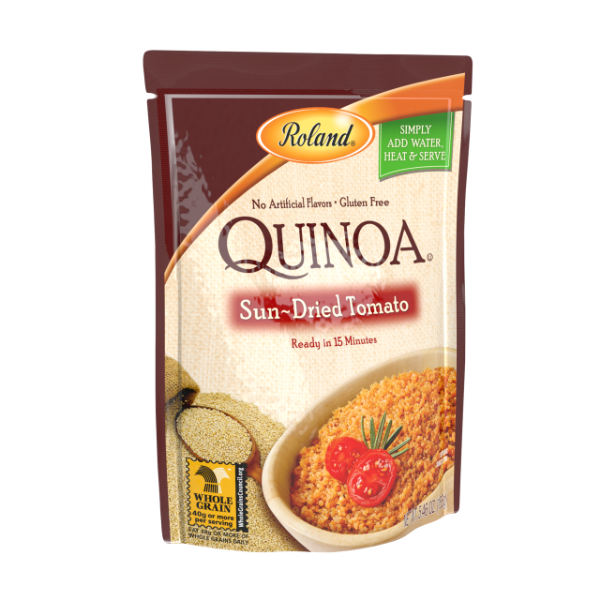
Stand up pouches have taken the packaging industry by storm. Manufacturers of products love them for the many new merchandising opportunities they offer, because they can either stand on a shelf or hang on a peg in a display. In addition, because standup pouches are typically made of plastic or plastic/aluminum laminates, they can be printed with any number of colors, designs, or logos. This makes them stand out even more at retail.
All that said, the "custom" part in "custom printed" can confuse customers, marketers, and even packaging experts. And nothing is worse than receiving a final product that looks nothing like what you thought you had ordered. If you're not a graphics expert, then use the following checklist when ordering custom printed stand up pouches to make sure that what you ordered is really what you want.
1. There are two types of printing methods used for stand up pouches. The first is rotogravure printing, which functions like a traditional rotary printing press, with the image to be printed first being engraved onto a copper cylinder, then pressed onto the object. The press has one printing unit for each color, typically a blend of CMYK colors (cyan, magenta, yellow and key, which is printing terminology for black).
The second printing method is flexographic printing, where the stand up pouch is fed into a printing press from a roll. Then it is pulled through a series of print units, each printing a single CMYK color.
Each type of printing method has its own advantages, but rotogravure printing tends to produce a better image at a higher resolution (but is also more expensive). In recent years, technological advancements have helped flexographic printers produce pieces that are similar in quality to rotogravure pieces, at cheaper prices. Check with your supplier to see what they recommend for your particular printed stand up pouch.
2. Make sure you always submit multiple copies of your artwork for stand up pouches. A general rule of thumb is two hard color copies, one hard black-and-white copy and one digital copy, typically stored on a compact disk. Many companies will accept graphics files via e-mail, but because they tend to be extremely large, a CD is typically recommended. If your artwork is under 60MB, most e-mail systems should be able to handle it.
3. Along with copies of your artwork, make sure you submit a copy of your true color standards (PMS numbers or color samples), so the colors of your artwork can be matched identically.
4. Your stand up pouch artwork should be in Adobe Illustrator or Photoshop file format. Most suppliers will also accept Macromedia Freehand or CorelDraw, although Adobe is the industry standard. Most printers prefer you store three versions of your artwork on the CD you provide them: two EPS copies (one converted into outline, one unconverted) and one PDF version.
5. Create outlines around all of the text in your printed stand up pouch design. Outlines turn text into small graphic designs, which means your fonts will not be distorted in the translation process. As a safety precaution, make sure you supply your printer with the fonts you used in your artwork. If they need to make changes, you'll want the fonts to match your design.
6. The resolution of any photographic images you use must not be less than 350 dpi. Lower resolution may result in your image looking pixilated and distorted, which can compromise your professional image.
7. Your printer should also have copies of the individual images you used in your design. Be sure to include these on the CD you submit.
8. Never flatten stand up pouch image layers. All layers of an image or design should remain separate, in case the printer needs to access one for revision or adjustment. Again, you should provide your printer with all the images you used, in their original layered form.
9. Don't forget to provide the UPC number to your supplier. Most suppliers can convert these numbers to an actual bar code and place them onto your artwork.
10. Ask for a "print proof" of your stand up pouch artwork to sign off on from your supplier that includes all the PMS colors and information you've provided for your printed stand up pouches.
In closing, few packaging products can compete with printed stand up pouches when the artwork and the film structure come together perfectly. Consumers will remember your product and retailers will gladly showcase them. This checklist will help you communicate with your supplier and consistently make your stand up pouch packaging pop on the store shelves.


